How to Remove BIAB at Home: A Complete Step-by-Step Guide
Builder in a Bottle (BIAB) has revolutionized the nail industry with its long lasting wear and ability to strengthen natural nails. However, when it’s time for a change, knowing how to remove BIAB at home safely is essential for maintaining healthy nails. This comprehensive guide will walk you through the removal process while protecting your nail bed and nail plate.
Understanding BIAB and Why Proper Removal Matters
Builder gel, commonly known as builder gel or BIAB, is a hybrid product that combines the benefits of gel polish with nail strengthening properties. Unlike traditional gel polish, BIAB creates a thin layer that bonds strongly to the natural nail, making the removal process more delicate. The nail industry has developed specific techniques for removing BIAB to prevent damage to the cuticles and nail bed.
Essential Tools for BIAB Removal
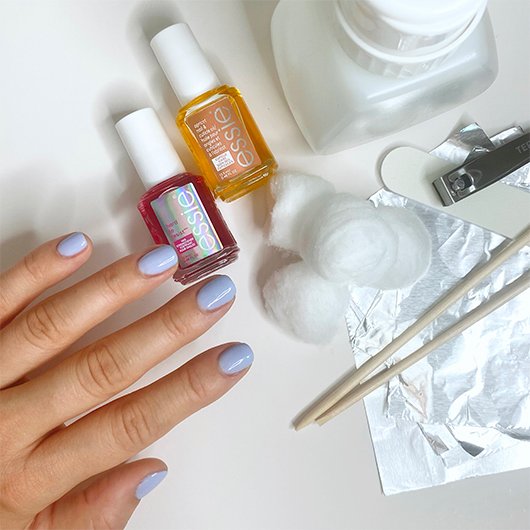
Before beginning the removal process, gather these necessary items:
- Acetone (high-quality nail dehydrator)
- Cotton balls or cotton pads
- Aluminum foil
- Nail file (coarse grit)
- Nail buffer
- E file (optional but recommended)
- Cuticle pusher
- Cuticle oil
- Metal tools (use sparingly)
Having the right tools ensures a smooth removal process and helps prevent over filing or damage to your nails.
Step by Step Guide to Removing BIAB
Step 1: Prepare Your Workspace
Set up in a well-ventilated area since acetone has strong fumes. Protect your skin and surrounding surfaces, as acetone can be harsh on both.
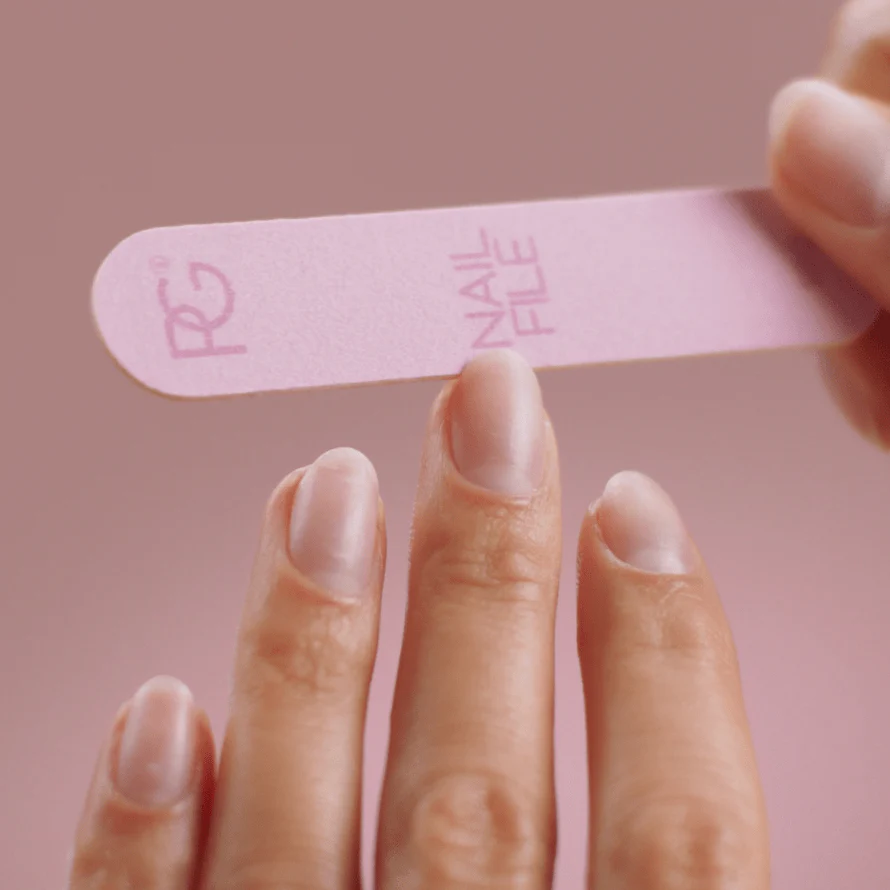
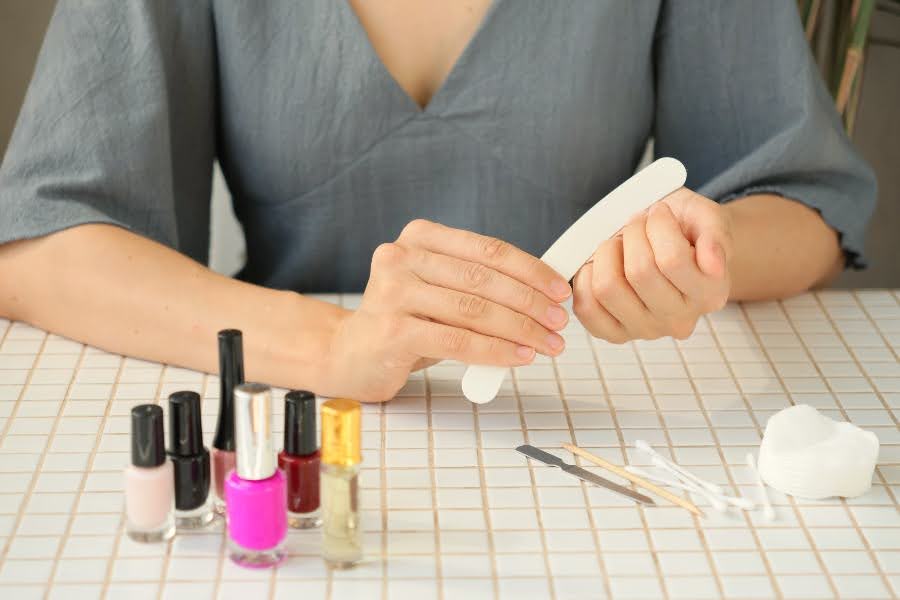
Step 2: File Away the Top Coat
Using a nail file or e file, gently remove and buff the surface to remove the top coat and break the seal of the builder gel. This step is crucial as it allows the acetone to penetrate the gel more effectively. Be careful not to file too aggressively to avoid over filing.
Also Read: Two Tone Summer Ombre Nails in 2025: The Season’s Most Refreshing Trend
Step 3: Prepare the Soak
Soak cotton balls or cotton pads thoroughly in acetone. The cotton should be saturated but not dripping excessively.
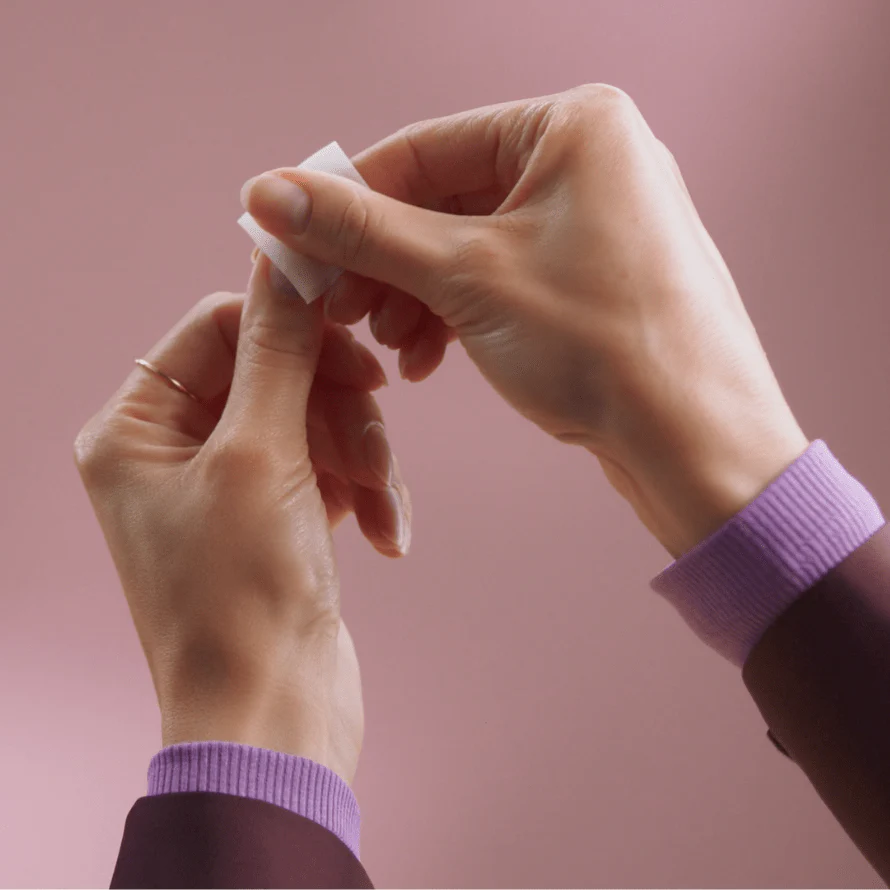
Step 4: Apply and Wrap
Place the soaked cotton on each nail, ensuring complete coverage of the BIAB manicure. Wrap each finger tightly with foil to prevent evaporation and maintain contact between the acetone and gel.
Step 5: The Soaking Process
Allow your nails to soak for 15-20 minutes. This soak off period is essential for the acetone to break down the builder gel effectively. Resist the urge to check too frequently, as this disrupts the process.
Step 6: Gentle Removal
After soaking, gently push the softened gel using a cuticle pusher. The gel should slide off easily if properly soaked. If resistance is felt, soak for an additional 5-10 minutes rather than forcing removal.
Step 7: Clean Up Residue
Use gently scraping motions with your cuticle pusher to remove any remaining gel. Avoid metal tools when possible, as they can damage the nail plate. If stubborn areas remain, repeat the soak process rather than aggressive scraping.
Post-Removal Care for Healthy Nails
Once you’ve finished removing BIAB, use a nail file as your natural nail will need attention. The removal process can be drying, so immediate care is essential.
Moisturize and Nourish
Apply cuticle oil generously to the nail bed, cuticles, and surrounding skin. This helps restore moisture lost during the acetone soak. Massage the oil gently to improve circulation and promote healthy nail growth.
Gentle Buffing
Use a nail buffer to smooth any rough areas on the nail surface. Be gentle to avoid thinning the natural nail further.
Give Your Nails a Break
Consider allowing your nails to breathe between manicures. This break period helps the natural nail recover and strengthens the nail plate.
Also Read: Simple Sunflower Nails: Cheerful Designs for Every Season
Common Mistakes to Avoid
Rushing the Process
The most common error in removing BIAB is impatience. Insufficient soaking leads to forced removal, which can damage the nail bed and cause the natural nail to break or peel.
Over-Filing
Using an e file too aggressively or excessive buffing can thin the nail plate dangerously. Always err on the side of caution when filing.
Skipping Aftercare
Neglecting to moisturize after removal leaves nails vulnerable to damage and breakage. The acetone removal process is harsh, making post-care essential.
Using Inadequate Tools
Poor-quality cotton or insufficient foil wrap reduces the effectiveness of the soak off process, leading to incomplete removal and potential damage.
Professional vs. At-Home Removal
While removing BIAB in your own home is possible, consider professional removal for your first few times. Nail technicians have experience with the removal process and can demonstrate proper technique. They also have access to professional-grade tools and products that may be more effective than consumer versions.
Maintaining Nail Health During Regular BIAB Use
If you regularly use builder gel, establish a routine that includes:
- Regular cuticle oil application
- Gentle filing techniques
- Proper removal timing (don’t let BIAB grow out too far)
- Occasional breaks from gel products
Also Read:Short Nail Designs 2025: The Ultimate Guide to Trendy Manicures
Conclusion
Learning how to remove BIAB at home requires patience, proper tools, and gentle technique. The key to successful removal lies in adequate soaking time and avoiding the temptation to force the process. By following this step-by-step guide and prioritizing nail health between manicures , you can safely remove BIAB while maintaining strong, healthy nails.
Remember that practice makes perfect, and each removal becomes easier as you develop your technique. When in doubt, don’t hesitate to consult a professional nail technician who can provide personalized guidance for your specific nail needs. With proper care and technique, you can enjoy the benefits of BIAB while maintaining the health and integrity of your natural nails.
If you enjoyed this post on my favorite “How to Remove BIAB at Home” be sure to follow us on Pinterest for more nail tips, and let us know which style is your top pick!